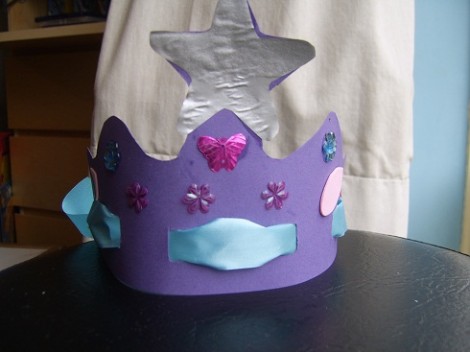
I tend not to do girly sorts of crafts, because I don't have a girl easily to hand to try them out on. Having my friend's two little girls aged 4 and over for the day gave me the chance to try something different.
Some mothers can do really cool crafty type things. Their end creations look fabulous. I am not one of them. This mum is though. For today's project I have drawn inspiration from a blog called Mommy Blessings. Do go have a read of her fairy crown project. It is simply amazing. I am in awe. How on earth did she look at a flexible cutting board and thing, hmmm I know what I can do with that?
I would look at the same bit of plastic and think oh look a cutting board. I've adapted her idea into something that the children can do pretty much on their own.

As always it is made with stuff that you're likely to already have around the house, and much of it the girl's were able to do on their own. You could, if you were trying to use up time on a rainy day, let them really go to
town with the decorating. I didn't get the glitter out this time, but I expect it would make a fantastic addition. I think I would even maybe get some scraps of veil type material, or old scarfs, to hang from it.
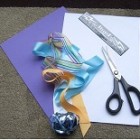
For this project you will need:
- A4 card
- paper
- ribbon
- pencil
- ruler
- scissors
- decorating bits and bobs
- glue
The paper can be scrap if you like, we're only using it to make a template. I'm not good at drawing, so we used a star shaped cookie cutter to make the front bit of the crown. I get a lot of use out of the cookie cutter, but I don't think I've ever made cookie's with it!

Fold the paper in half and draw the outline of the crown on one side. Then, when you cut it out and open it up, the template will be symmetrical. Adhere this (or hold it but if you've paper clips to hand it is easier) to the card, and cut the shape out.
This is the bit I need to help the four year old with a bit, but the six year old was fine doing it on her own. Cutting out the slots for the ribbon though was a job for me.
To do this, I used the ruler to mark out slots about 4cm apart, on the back of the card. Then I used a square of Lego (one with four connectors) to make the shape of the slot. These I cut out using a pair of fingernail scissors. If you are handy with a craft knife, and actually have one, you'll get a better finish. But this was good enough for a rainy day sort of project.
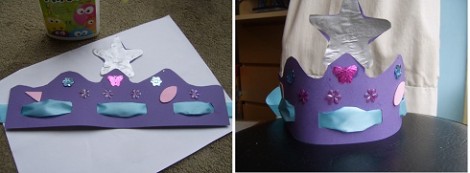
Thread the ribbon through the slots. I keep all bits of ribbon I get. This one came wrapped around a birthday cake. I've got a lot of them though since little boys don't really tend to do crafts and things that require ribbon. The only thing you need to remember is to get a strip of ribbon that will be long enough to go through the crown, and tie around their heads.

Now all you have to do is decorate. A word to the wise. Check your supplies beforehand. If you only have one pink sparkly butterfly and you have two girls, it is probably best to hide the butterfly. I wish I had!
We spent a lovely, messy, time picking out the stuff we wanted on our crowns, and gluing them on. I used the star cookie cutter to create silver stars out of some scraps of silver wrapping paper that I'd save. All this stuff that pre-kids I used to throw out. Now I see left over scraps and think about how cool it will look on a crafty project!


Comments