One day last year I walked into the most stunning kitchen, belonging to a friend of mine. In a Victorian house, the room had massively high ceilings, and a wall almost entirely of glass at one end. And at the other was a free standing kitchen from John Lewis.
Or so I thought. I knew the units fairly well as I'd been drooling over them online myself since our kitchen desperately needed re-doing. But I was wrong. The units were newly fitted but from Ikea not John Lewis. The transformation had come from re-painting the doors. It looked utterly amazing and I was very impressed. A John Lewis kitchen for the price of an Ikea one? Brilliant.
 Then there are people who are just simply amazing at decorating their own homes in the sort of style you normally only see in Interiors magazine. And every piece you admire has its orgins being found on the side of the footpath or in a junk shop.
So this is it. I've been inspired in no small part by Tamsin in her feature last week - Transform Your Home On A Budget.She has pretty much covered it on finding cheap as chips accessories, materials, and decorating.
I am now on a mission to spend absolutely nothing at all on MDF and melamine furniture, and a pittance on stuff that's made of proper, solid wood.
Shabby Chic
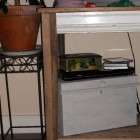 If you love this style, and distressed furniture, then don't fork out cash on ready made stuff. Give it a go yourself. OK you're probably like me and don't have the foggiest idea where to start. So I turned to PlayPennies mum of one Donatella for help. The interior design of her end of terrace two bedroom cottage is simply breathtaking, and with added layers of lego and models, a truely comfortable family home.
Donatella explains that "I've bought loads at charity shops and boot sales. All wood and old. I hoover it, wipe it down, sand a bit and add loose, long stokes of lo-gloss or matt paint - uneven is preferable. I apply it as if it were a wash, and I've even used normal wall paint. The metal trunk under my TV table is the last thing I painted. I picked it up in a skip. I always change the knobs, too. "
The metal trunk is the picture above (right-hand side), in situ with the TV table. How did she paint it and did she use ordinary paint or metal paint? "I found the small metal trunk in a skip. It was quite rusty, painted black. I covered it with magnolia lo-gloss for doors. I used it like a wash and only gave it one coat. You can see brush strokes and edges!"
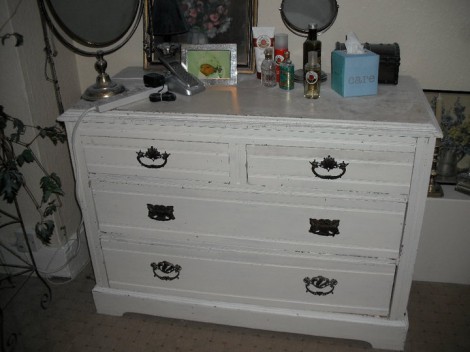 Her dressing table is particularly striking (pictured above). "I bought it in a charity shop. Apparently it's from the 1920s. Bought Victorian handles on eBay - that's why they're all different. Chest was £35. Knobs were £8 in total." Including the paint then, that's a piece of beautifully designed furniture in solid (very solid!) wood for less than £50. I don't think you could get something that feels as well built as this dresser for that price in a shop selling flat packed self assembly furniture.
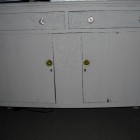 Some pre-loved furniture has been a bit more 'loved' than others. And that can require a little more elbow grease to change. The sideboard pictured right was a little bit more of a challenge for Donatella. "I bought this from a charity shop for £20. The top had lining paper glued on to it. Scraped it off, sanded, washed, painted and bought glass knobs. The lining paper in the drawers was much easier to remove. It just peeled right off."
Melamine Gold Mine
Next, repainting melamine. For my 'guinea pig', to practice my renovating skills, I got an old set of drawers for free from Freecycle. I can't over stress what a state they were in. Think really really bad student bedsit circa 1990. It took me two afternoons to get it done. And no it isn't, unfortunately, the drawers pictured below!
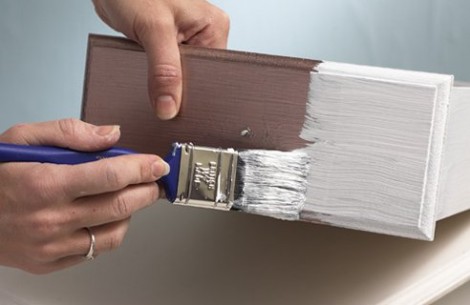
Step one is to clean the surfaces you're going to paint, thoroughly. I washed it down, then went over it all with turpentine. You can also use sugar soap. Then sandpaper. Here I wasn't too sure what to do, so looked online for advice and followed the information given on DIY Doctor. Namely to simply sand until the gloss is gone. Not any further as you may remove the plastic surface entirely.
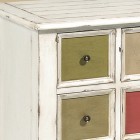 After that I painted it with a coat of primer, and when that was dry I painted it with eggshell matt white paint. For the painting I used a roller, and a small brush for finishing the edges. I found I really had to watch out for dripping. It was too easy to put on too much paint without intending to.
I painted it earlier this year as a half term project with my son. We had a blast! I can't say it wasn't messy, because it was. I made sure I put down lots of newspaper, and explained what he needed to do. Overall he did really well and was very responsible with the paint. However, I forgot about the cleaning up afterwards part. He very helpfully rinsed his brush under the tap in the kitchen then shook it dry. Sending watery paint splatters everywhere. It looked CSI had conducted a blood splatter simulation with white paint.
And Finally
I couldn't really find much in the way of websites that will help you with finding and renovating on the cheap. This book, Flea Market Style, certainly looks helpful though!
Would love to hear about all your experiences. Especially any links you might have to photos. Have you upcycled some furniture? And if you did, how did it go?



Comments